YOURLS stands for Your Own URL Shortener is an open-source URL shortening and data analytics application. It helps you to host your own URL shortening website like TinyURL or Bitly. It is free and open-source, and you don’t need to rely on third-party services.
Features
- Free and Open-source
- Custom URL keyword
- Private or Public links
- Handy bookmarklets to easily shorten and share links
- Historical click reports
- Referrers tracking and visitors geo-location
- Friendly installer and simple Ajaxed interface
In this tutorial, we will show you how to install YOURLS URL Shortener on Ubuntu 20.04.
Prerequisites
- A server running Ubuntu 20.04.
- A valid domain name pointed with your server IP. In this tutorial, we will use yourls.linuxbuz.com domain.
- A root password is set up in your server.
Step 1 – Install Nginx, MariaDB and PHP
First, you will need to install Nginx or Apache web server, MariaDB database server, PHP and other PHP extensions in your system. You can install them easily using the following command:
1 2 | apt-get update -yapt-get install nginx mariadb-server php php-fpm php-cli php-json php-mysql php-zip php-gd php-mbstring php-curl php-xml php-pear php-bcmath git unzip wget -y |
Once all the packages are installed, start the Nginx and MariaDB service with the following command:
1 2 | systemctl start nginxsystemctl start mariadb |
At this point, LEMP server is ready to host YOURLS.
Step 2 – Create a Database for YOURLS
YOURLS uses MariaDB or MySQL as a database backend. So you will need to create a database and user for YOURLS.
First, log in to MariaDB shell with the following command:
1 | mysql |
After login, create a database and user using the following command:
1 2 | MariaDB [(none)]> CREATE DATABASE yourlsdb;MariaDB [(none)]> GRANT ALL PRIVILEGES ON yourlsdb.* TO 'yourls'@'localhost' IDENTIFIED BY "password"; |
Next, flush the privileges and exit from the MariaDB shell with the following command:
1 2 | MariaDB [(none)]> FLUSH PRIVILEGES;MariaDB [(none)]> EXIT; |
At this point, MariaDB is configured for YOURLS.
Step 3 – Install YOURLS
First, change the directory to the Nginx web root directory and download the latest version of YOURLS from the Git repository.
1 2 | cd /var/www/htmlgit clone https://github.com/YOURLS/YOURLS.git |
After downloading YOURLS, change the directory to YOURLS/user and copy the sample configuration file:
1 2 | cd YOURLS/user/cp config-sample.php config.php |
Next, edit the configuration file and define your database settings:
1 | nano config.php |
Change the following lines that match with your database settings and also provide your domain name and admin password:
01 02 03 04 05 06 07 08 09 10 11 12 13 14 15 16 17 18 19 20 21 22 | /** MySQL database username */define( 'YOURLS_DB_USER', 'yourls' );/** MySQL database password */define( 'YOURLS_DB_PASS', 'password' );/** The name of the database for YOURLS ** Use lower case letters [a-z], digits [0-9] and underscores [_] only */define( 'YOURLS_DB_NAME', 'yourlsdb' );/** MySQL hostname. ** If using a non standard port, specify it like 'hostname:port', eg. 'localhost:9999' or '127.0.0.1:666' */define( 'YOURLS_DB_HOST', 'localhost' );/** MySQL tables prefix ** YOURLS will create tables using this prefix (eg `yourls_url`, `yourls_options`, ...) ** Use lower case letters [a-z], digits [0-9] and underscores [_] only */define( 'YOURLS_DB_PREFIX', 'yourls_' );$yourls_user_passwords = array( 'admin' => 'adminpassword', |
Save and close the file then change the ownership and give proper permissions to the YOURLS directory:
1 2 | chown -R www-data:www-data /var/www/html/YOURLSchmod -R 775 /var/www/html/YOURLS |
At this point, YOURLS is downloaded and configured.
Step 4 – Configure Nginx for YOURLS
Next, you will need to create an Nginx configuration file to host YOURLS. You can create it with the following command:
1 | nano /etc/nginx/sites-available/yourls.conf |
Add the following lines:
01 02 03 04 05 06 07 08 09 10 11 12 13 14 15 16 17 18 19 | server { listen 80; server_name yourls.linuxbuz.com; root /var/www/html/YOURLS; index index.php index.html index.htm; location / { try_files $uri $uri/ /yourls-loader.php$is_args$args; } location ~ \.php$ { try_files $uri =404; fastcgi_split_path_info ^(.+\.php)(/.+)$; fastcgi_index index.php; fastcgi_param SCRIPT_FILENAME $document_root$fastcgi_script_name; fastcgi_pass unix:/var/run/php/php7.4-fpm.sock; include fastcgi_params; }} |
Save and close the file then activate the Nginx virtual host with the following command:
1 | ln -s /etc/nginx/sites-available/yourls.conf /etc/nginx/sites-enabled/ |
Next, restart the Nginx service to apply the configuration changes:
1 | systemctl restart nginx |
At this point, Nginx is configured to serve the YOURLS website.
Step 5 – Access YOURLS Web Interface
Now, open your web browser and access the YOURLS web installation wizard using the URL http://yourls.linuxbuz.com/admin/. You should see the following screen:
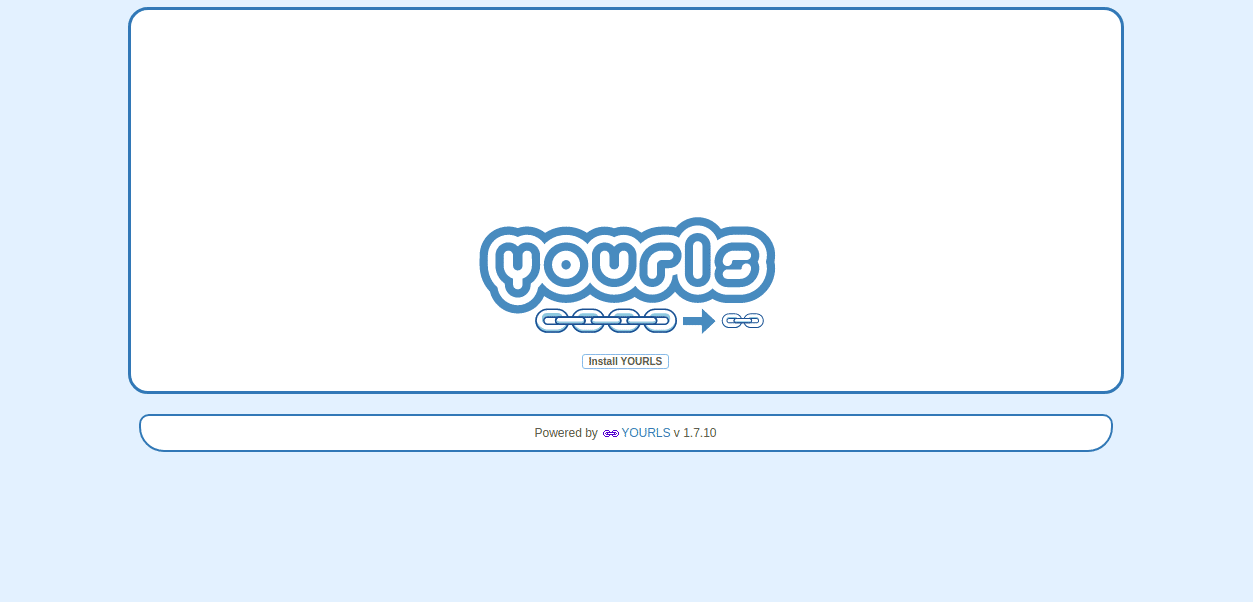
Click on the Install YOURLS to start the installation. Once the installation has been finished, you will be redirected to the following screen:
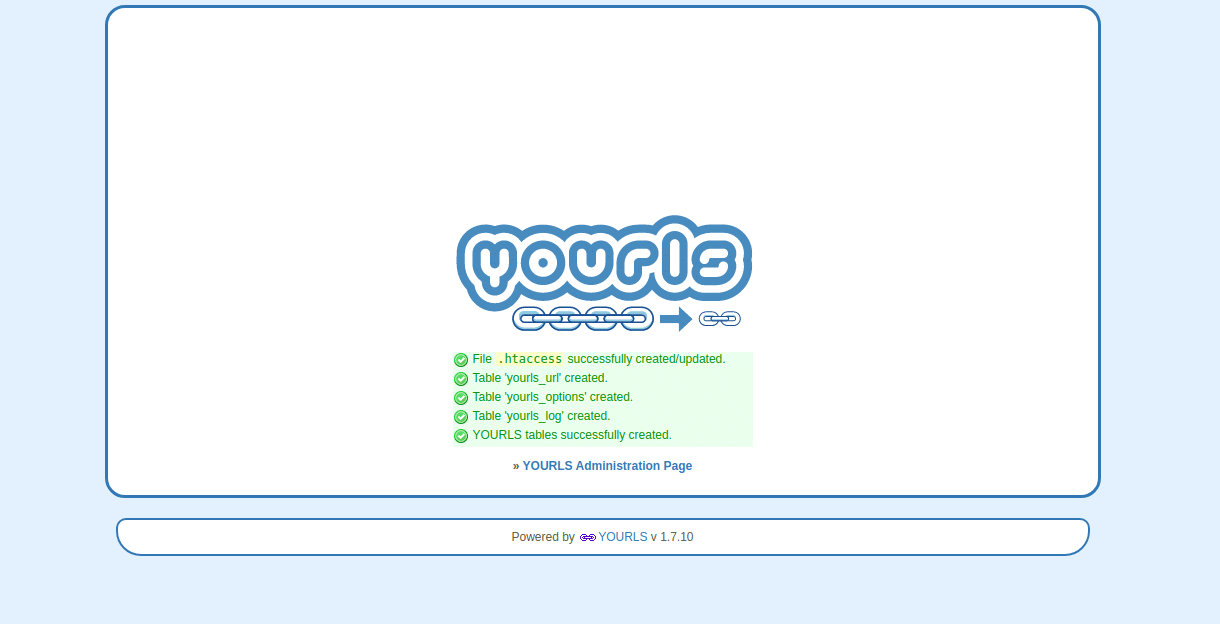
Now, click on the YOURLS Administration Page. You will be redirected to the YOURLS login screen:
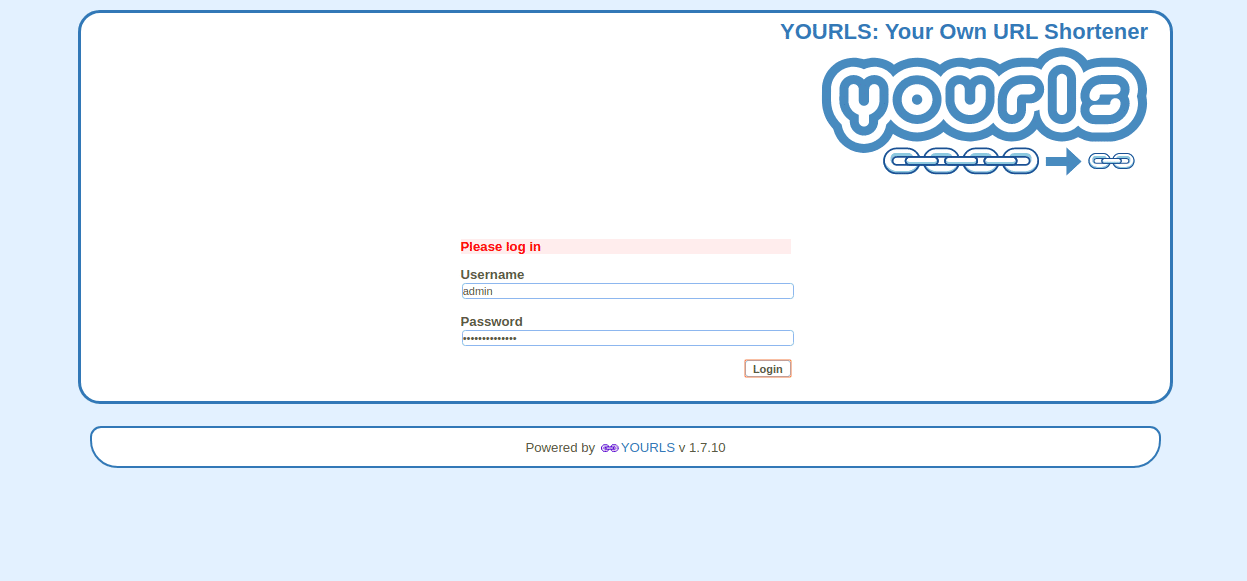
Provide your admin username and password which you have defined in the config.php file and click on the Login button. You should see the YOURLS dashboard in the following screen:
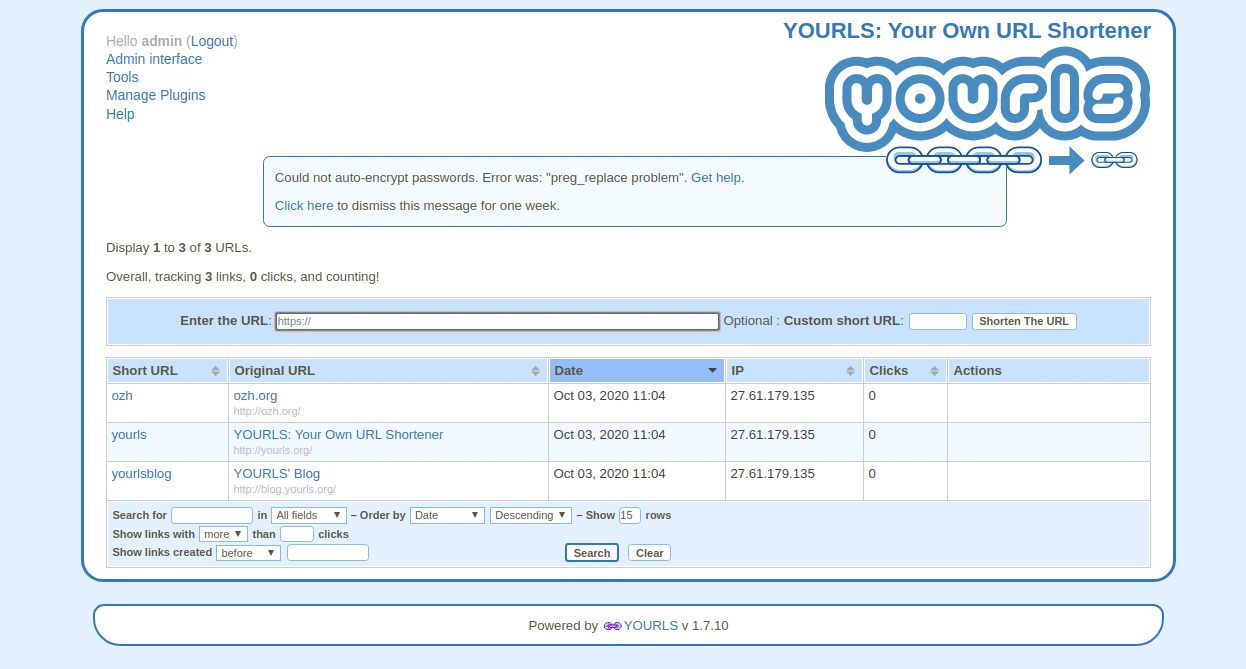
Congratulations! you have successfully installed YOURLS on Ubuntu 20.04. You can now easily shorten any URL easily from the YOURLS dashboard.