Node.js is a JavaScript runtime environment used to run JavaScript code on the server-side. It is a cross-platform designed to build fast and scalable back-end applications.
NPM also know as a “Node Package Manager” is an online repository for developing and sharing JavaScript code. Generally, it is used for automated dependency and package management. You can specify all your projects dependencies in your package.json file then just run npm install command to install all dependencies.
In this tutorial, you will learn –
- How to Install Node.js and NPM on Windows 10
- How to Update Node.js and NPM on Windows 10
- How to Uninstall Node.js and NPM on Windows 10
Prerequisites
- A system running Windows 10 or Windows server.
- An administrative user is configured on your system.
Step 1 – Download Node.js Installer
First, go to the Node.js site https://nodejs.org/en/download/ as shown below:
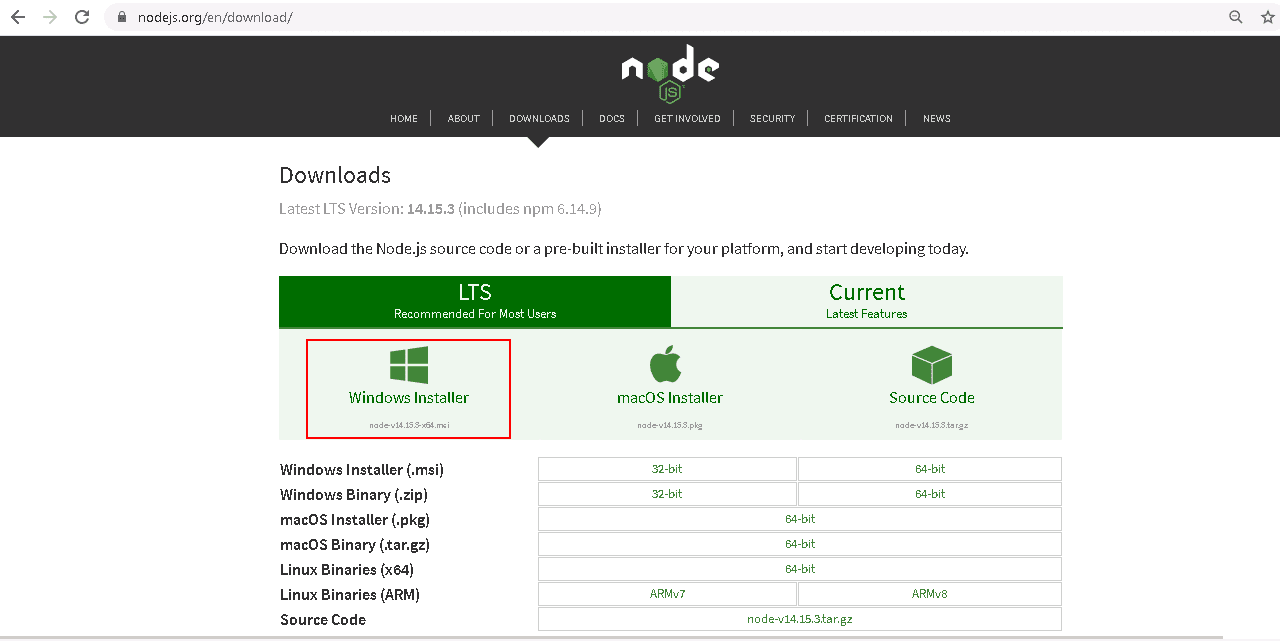
Click on the Windows Installer button to download the latest Node.js version. At the time of writing this article, the latest version of Node.js is 14.15.
Once the download is completed, you can proceed to install the downloaded installer to your system.
Step 2 – Install Node.js and NPM on Windows
You can install the Node.js and NPM by following the below steps:
Step 1 – Double click on the downloaded installer file to start the installation. You should see the following screen:
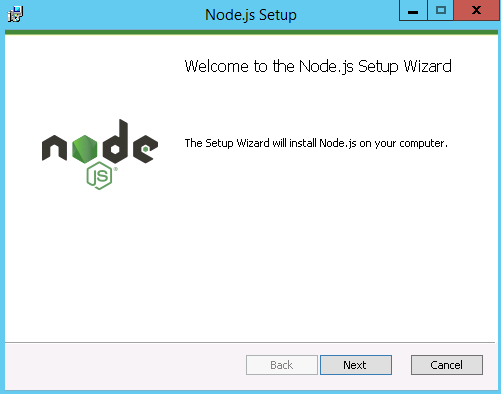
Step 2 – Click on the Next button to continue with the installation. You should see the following screen:
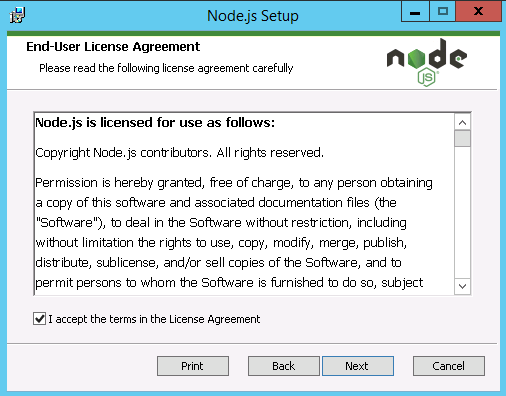
Step 3 – Accept the license agreement and click on the Next button. You will be asked to choose the Node.js installation location as shown below:
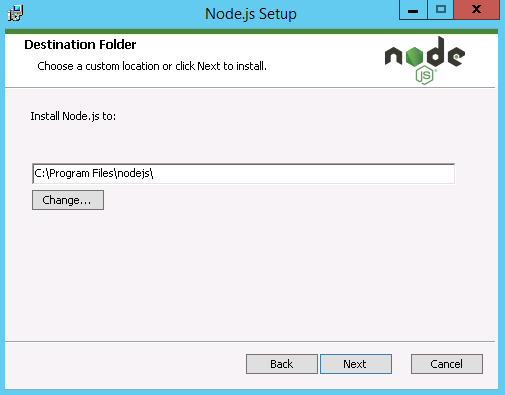
Step 4 – Provide your desired location or leave it default and click on the Next button. You should see the following screen:
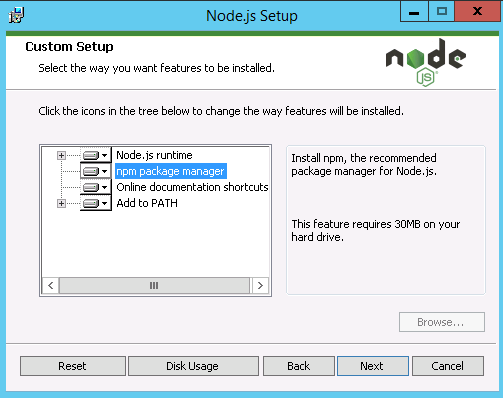
Step 5 – Accept the default components and click on the Next button. You should see the following screen:
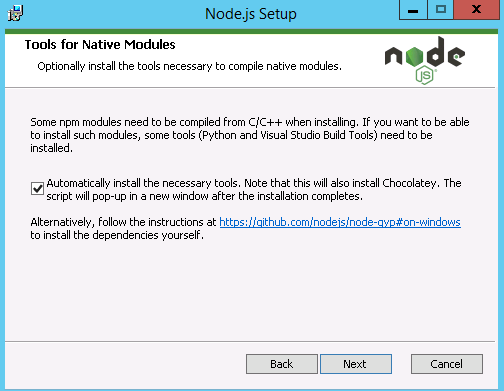
Step 6 – Check “Automatically install the necessary tools” and click on the Next button. You should see the following screen:
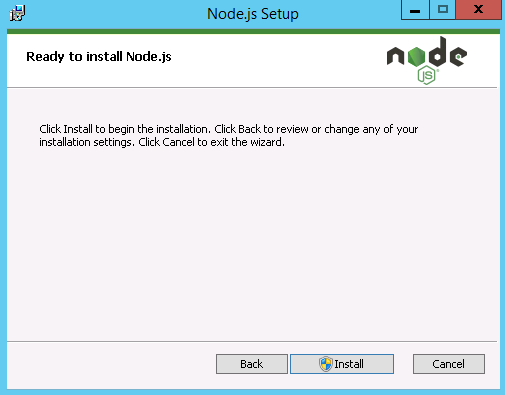
Step 7 – Click on the Install button to start the installation. Once the installation is finished, you should see the following screen:
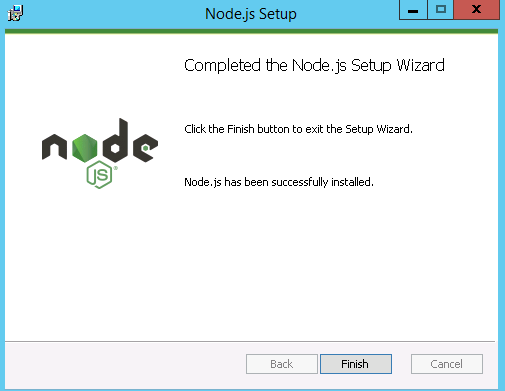
Step 8 – Click on the Finish to exit the setup wizard.
Step 3 – Verify Node.js and NPM Installation
At this point, Node.js and NPM are installed in your system.
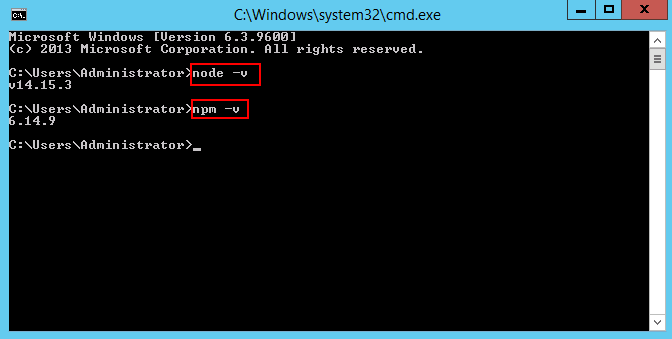
To verify the installation, open your Windows command prompt and run the following command to verify the Node.js version:
node -v
You can also verify the NPM version using the following command:
npm -v
You should see the installed version of Node.js and NPM in the following screen:
Step 4 – Update Node.js and NPM on Windows
The simple and easiest way to update Node.js and NPM is to download the latest version from its official download page. After downloading the latest installer, run it to start the installation. The installation wizard will overwrite the old version, and replace it with the new version.
You can also upgrade the Node.js using the n model with npm command. The n feature allows you to interactively manage your Node.js versions.
First, open the Windows command prompt and verify the installed version of Node.js with the following command:
node -v
Next, clean all NPM cache by running the following command:
npm cache clean -f
Next, install the n feature globally with the following command:
npm install -g n
Next, install the stable release of Node.js with the following command:
sudo n stable
If you want to install the latest Node.js version, run the following command:
sudo n latest
To install the specific Node.js version, run the following command:
sudo n [version-number]
Step 5 – Uninstall Node.js and NPM on Windows
You can uninstall Node.js and NPM on Windows by following the below steps:
Step 1 – Click start menu => Settings => App
Step 2 – Search for node. You should see the following screen:

Step 3 – Click on the Uninstall Node.js to remove the Node.js from your system.
Conclusion
In this guide, you learned how to install Node.js and NPM on Windows. You also learn how to update Node.js and NPM, and remove them from the system.