Cendio ThinLinc is a Linux Remote Desktop Server that allows you to deliver secure Virtual Desktop Infrastructure (VDI) sessions over the web or via its client application. By deploying it on Microsoft Azure, you can provide scalable Linux desktops to users anywhere.
NVIDIA Isaac Sim is a robotics simulation tool built on NVIDIA Omniverse that helps you build, test, and train AI-powered robots in realistic virtual environments. It supports common robot file formats, realistic physics, and sensor simulation, and you can easily run Isaac Sim on Azure to use powerful cloud GPUs for faster and scalable robotics development.
This guide walks you through the entire process, from creating the VM in Azure to logging into the ThinLinc desktop, installing Isaac Sim and running it on a desktop session.
Prerequisites
Before starting this deployment, make sure you have the following:
- Microsoft Azure account – with an active subscription. A free trial works, but for production, use a paid plan.
- Basic knowledge of Azure – navigating the portal, creating resources, and managing virtual machines.
- SSH client installed – such as OpenSSH on Linux/macOS or PuTTY on Windows, to connect to your VM.
- Downloaded SSH key – generated during the VM creation process in Azure. This private key will be used for secure access.
- Local system requirements – a modern browser for ThinLinc Web Access, and optionally, the ThinLinc Client application for better performance.
- Resource planning – select an Azure VM size that matches your workload (for example, 4 vCPUs and 16 GB RAM can support small teams).
Step 1 – Log in to Azure Portal
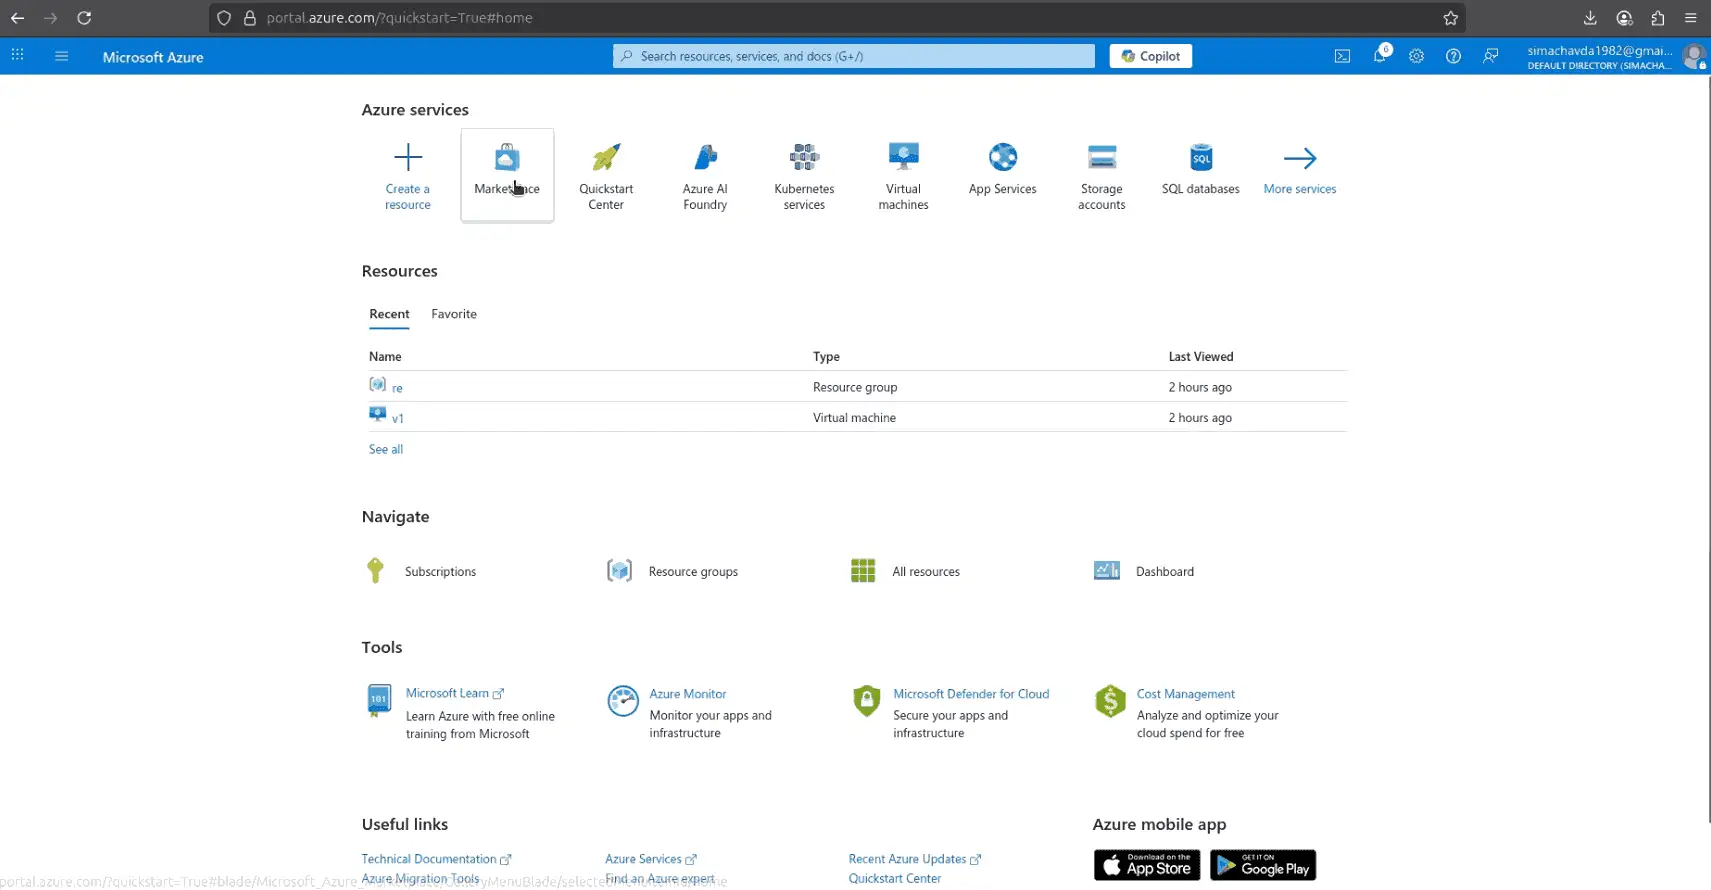
Open https://portal.azure.com and sign in with your Microsoft account. Make sure you have an active subscription with permissions to create virtual machines. From the dashboard, use the search bar at the top to access the Azure Marketplace, this is where you’ll find the ThinLinc Remote Desktop Server image to begin deployment.
Step 2 – Find ThinLinc in Marketplace
In the Azure Marketplace, search for ThinLinc. Select the “ThinLinc Remote Desktop Server” image, review its details, click Create and select ThinLinc on Ubuntu 22.04 then click Next to start the virtual machine setup.

Step 3 – Configure Virtual Machine Settings
After selecting the ThinLinc image, continue configuring your VM in the Create Virtual Machine wizard:
- Availability Zone: Choose an availability zone (e.g., Zone 1) to increase reliability.
- VM Size: Select a machine type that matches your workload. For example, Standard NVas v4 is a good choice for VDI since it provides GPU-enabled instances and enough memory (around 19 GB).
- Administrator Account: Confirm the SSH public key authentication method and the
azureuserlogin you created earlier. - Inbound Port Rules: Keep SSH (22) enabled so you can access the VM from your local machine.
Once these settings are configured, proceed to the Next:Disks tab to continue with storage configuration.
Step 4 – Configure Disks and Networking
Next, move to the Disks and Networking tabs in the VM creation wizard:
- OS Disk: Keep the default settings (Premium SSD, 30 GiB) for better performance. You can add additional data disks later if needed.
- Encryption: Leave default options (platform-managed keys) unless your organization requires custom encryption.
- Virtual Network: A new VNet will be created automatically (e.g.,
thinlinc-vnet). - Subnet: Use the default subnet.
- Public IP: Assign a public IP (e.g.,
thinlinc-server-ip) so you can access the VM from outside. - Network Security Group (NSG): Choose Basic and allow inbound SSH (22).
These settings ensure the VM is both accessible and secure. Once completed, continue to the Next:Management tab.
Step 5 – Management and Review
On the Management tab, configure monitoring and security options for your VM:
- Defender for Cloud: You can enable this for advanced threat protection, though it’s optional.
- Auto-Shutdown: Set a daily shutdown schedule if you want to save costs when the VM is not in use.
- Monitoring: By default, diagnostics and monitoring are enabled; you can leave these as-is.
Once the management settings are reviewed, click on Review + Create, and when prompted, download the SSH private key file to your local machine. This will be used to connect to the VM later.
Step 6 – Deployment Complete and Connect to the VM
Once the deployment is complete, you’ll see a confirmation screen indicating that your ThinLinc VM has been created successfully. The Overview page will display important details such as:
- VM name (e.g.,
thinlinc-server) - Operating system: Ubuntu 22.04 LTS
- Size: The VM type you selected (e.g., Standard NVas v4)
- Public IP address: Required for SSH and ThinLinc Web Access
- Resource group and Virtual network
Now connect to your VM from your local computer:
Open a terminal on your system.
Navigate to the directory where you saved the SSH key and grant the necessary permissions to it.
chmod 400 ThinLinc-Server_key.pemNow, run the command below to connect to your ThinLinc server.
ssh -i ThinLinc-Server_key.pem azureuser@VM_PUBLIC_IPYou are now inside your ThinLinc server on Azure and ready to begin configuration.
Step 7 – Check ThinLinc Services and Configure NSG
After connecting to the VM, the first step is to make sure the ThinLinc services are running correctly. Inside the VM terminal, run:
sudo systemctl status vsmserver vsmagent tlwebaccess tlwebadmindYou should see all services in the active (running) state. These are the core components that handle ThinLinc sessions, web access, and administration.
Step 8 – Configure Firewall
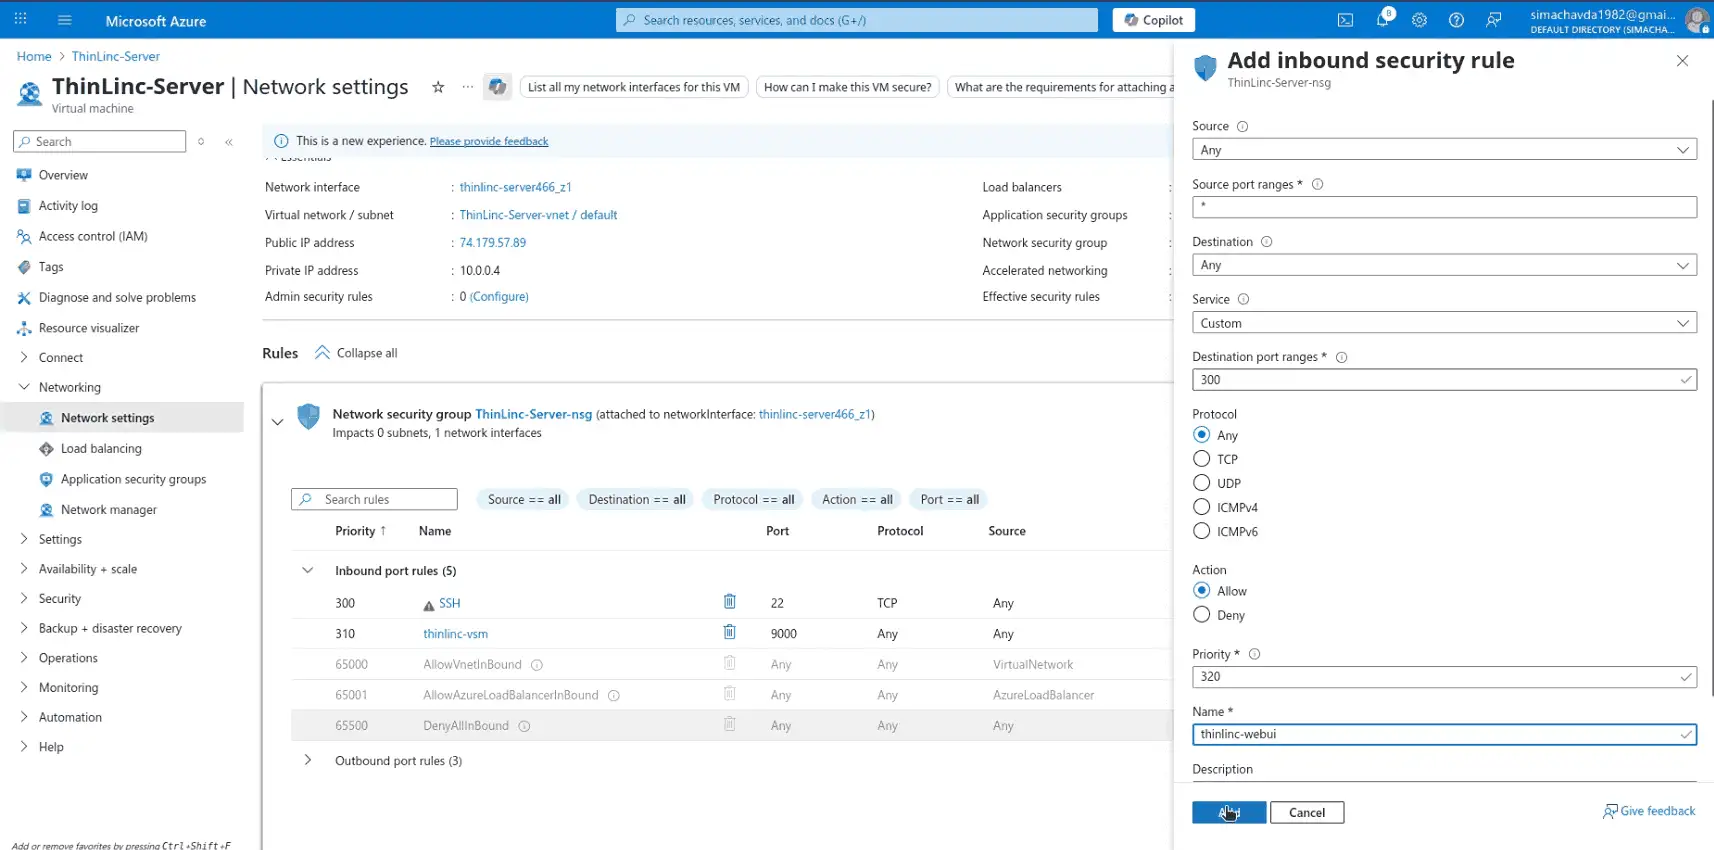
Next, configure the Network Security Group (NSG) to allow ThinLinc traffic. By default, only SSH (22) is open. You’ll need to add rules for:
- Port 300 – ThinLinc Web Access
- Port 1010 – ThinLinc Control Panel
- Port 9000 – ThinLinc VSM Server
You can do this from the Azure Portal under Networking => Inbound port rules
Step 9 – Set User Password and Configure ThinLinc Admin
ThinLinc requires user authentication, so the next step is to configure credentials:
1. Set a password for the default user
Run the following command inside your VM to create a password for the azureuser account:
sudo passwd azureuserEnter and confirm the new password. This will be used to log in to the ThinLinc desktop session.
2. Generate an admin password hash
ThinLinc Web Administration uses hashed passwords. Generate one with:
sudo /opt/thinlinc/sbin/tl-gen-authCopy the generated SHA-512 hash from the output.
3. Edit the ThinLinc Web Admin configuration
Open the config file:
sudo nano /opt/thinlinc/etc/conf.d/tlwebadm.hconfAdd or update the following lines:
username=admin
password=your_generated_hash
4. Restart the admin service
Apply changes by restarting the ThinLinc Web Admin service:
sudo systemctl restart tlwebadmAt this point, ThinLinc Web Administration is configured with an admin user and secured password hash.
Step 10 – Enable VirtualGL for GPU Acceleration
ThinLinc requires VirtualGL to take advantage of the NVIDIA GPU on your Vultr instance. VirtualGL redirects OpenGL commands from applications running in ThinLinc sessions to the GPU for smooth 3D rendering. Follow the steps below to install VirtualGL.
1. Download the GPG key for the VirtualGL repository.
wget -qO- https://packagecloud.io/dcommander/virtualgl/gpgkey | sudo gpg --dearmor -o /usr/share/keyrings/virtualgl-archive-keyring.gpg2. Add the VirtualGL repository to your system sources.
echo "deb [signed-by=/usr/share/keyrings/virtualgl-archive-keyring.gpg] https://packagecloud.io/dcommander/virtualgl/any any main" | sudo tee /etc/apt/sources.list.d/virtualgl.list3. Update the package index to include the new repository.
sudo apt update4. Install VirtualGL for GPU rendering.
sudo apt install virtualgl -y5. Verify the installation.
vglrun --versionOutput:
VirtualGL v3.1.4 (Build 20251007)6. Configure VirtualGL to set permissions and access rules for GPU rendering in ThinLinc sessions.
sudo /opt/VirtualGL/bin/vglserver_configWhen prompted, choose the following options:
Select Option 1 to configure the server for use with VirtualGL (GLX + EGL back ends):
Choose: 1Restrict 3D X server access to the vglusers group (recommended):
Restrict 3D X server access to vglusers group (recommended)? [Y/n] YRestrict framebuffer device access to the vglusers group (recommended):
Restrict framebuffer device access to vglusers group (recommended)? [Y/n] YDisable the XTEST extension for security (recommended):
Disable XTEST extension (recommended)? [Y/n] YExit the configuration menu:
Choose: X7. Add your ThinLinc user to the vglusers group to access the GPU.
sudo usermod -aG vglusers azureuser8. Restart your server to apply the configuration changes.
sudo rebootStep 10 – Access ThinLinc via Web Browser
With the services and credentials configured, you can now log in to ThinLinc using the desktop access portal .
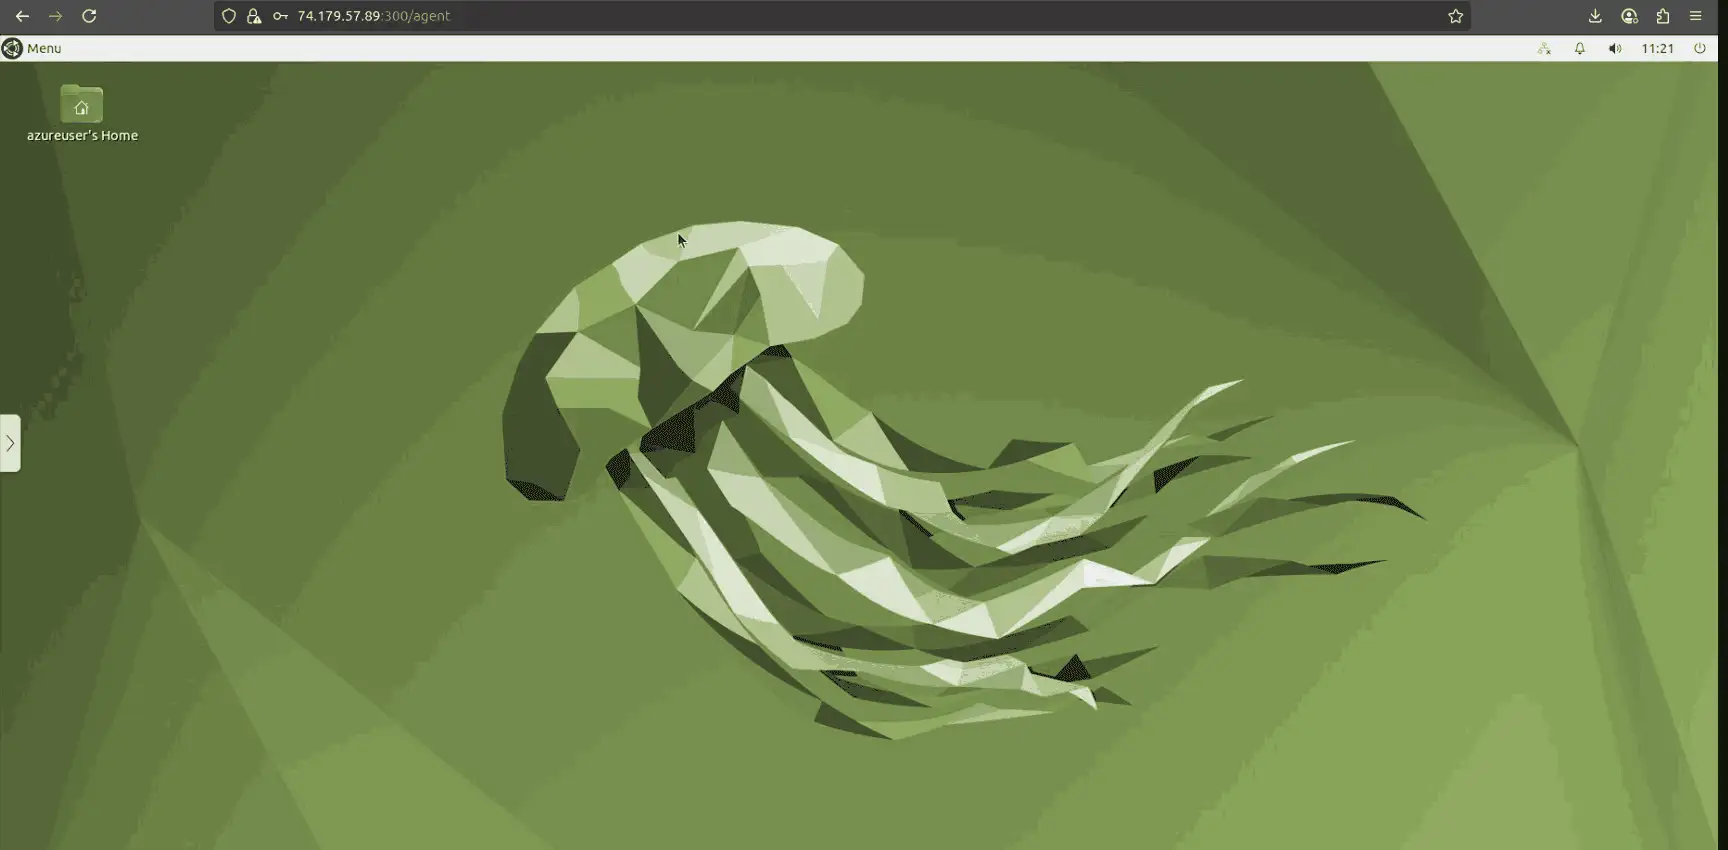
1. Open a browser and go to https://VM_PUBLIC_IP:300
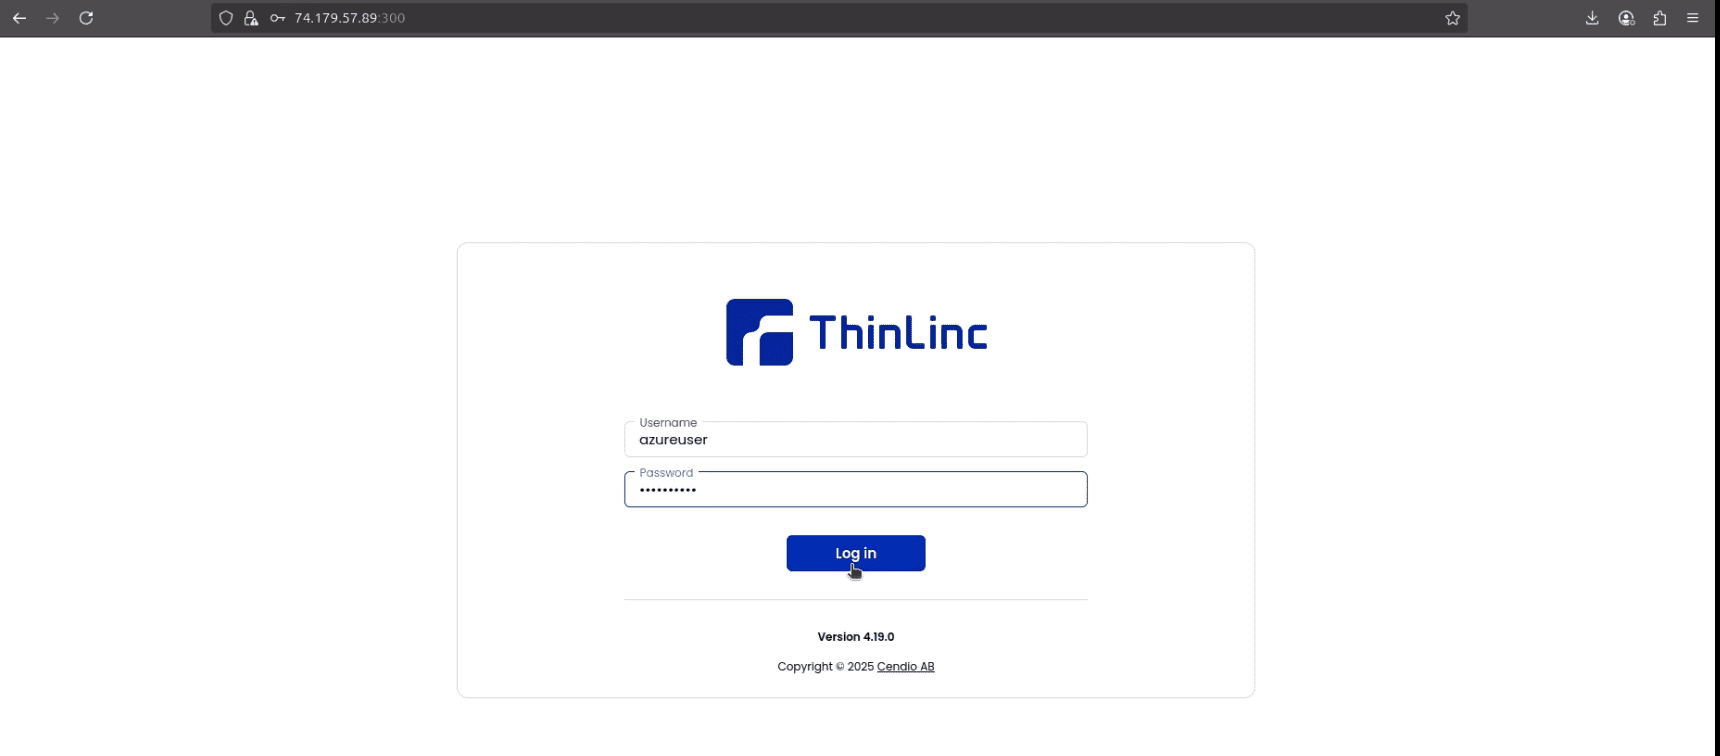
2. Enter the credentials of the Linux user you created (azureuser and its password) If successful, you’ll be taken to a remote Linux XFCE desktop session directly in your browser.
Step 11 – Install and Run Isaac Sim
Follow the steps below to install and run NVIDIA Isaac Sim on Desktop session.
1. Open a terminal from the application menu and install the necessary dependencies.
sudo apt-get install build-essential git git-lfs -y2. Install GCC/G++ 11
sudo apt-get install gcc-11 g++-11
sudo update-alternatives --install /usr/bin/gcc gcc /usr/bin/gcc-11 200
sudo update-alternatives --install /usr/bin/g++ g++ /usr/bin/g++-11 200
3. Download the Isaac Sim source from GitHub.
git clone https://github.com/isaac-sim/IsaacSim.git isaacsim4. Navigate to the downloaded directory.
cd isaacsim5. Sets up Git Large File Storage (LFS) on your system to handle large binary files used by Isaac Sim.
git lfs install6. Downloads all large assets and binaries tracked by Git LFS that are required to run or build Isaac Sim.
git lfs pull7. Builds Isaac Sim from source by compiling the required components and preparing the simulation environment for execution.
./build.shThis command builds the Isaac Sim to the _build/linux-x86_64/release directory.
8. Next, download the Isaac Assets containing sample demo file.
wget https://download.isaacsim.omniverse.nvidia.com/isaac-sim-assets-robots_and_sensors-5.0.0.zip
9. Unzip the downloaded file.
unzip isaac-sim-assets-robots_and_sensors-5.0.0.zip
10. Create a directory to store the demo file.
mkdir Desktop/demo
11. Copy the sample demo file from the downloaded Assets to the demo directory.
cp Assets/Isaac/5.0/Isaac/Robots/Kinova/Gen3/Props/instanceable_meshes.usd Desktop/demo/
12. Navigates to the directory where the compiled Isaac Sim binaries are generated after the build process.
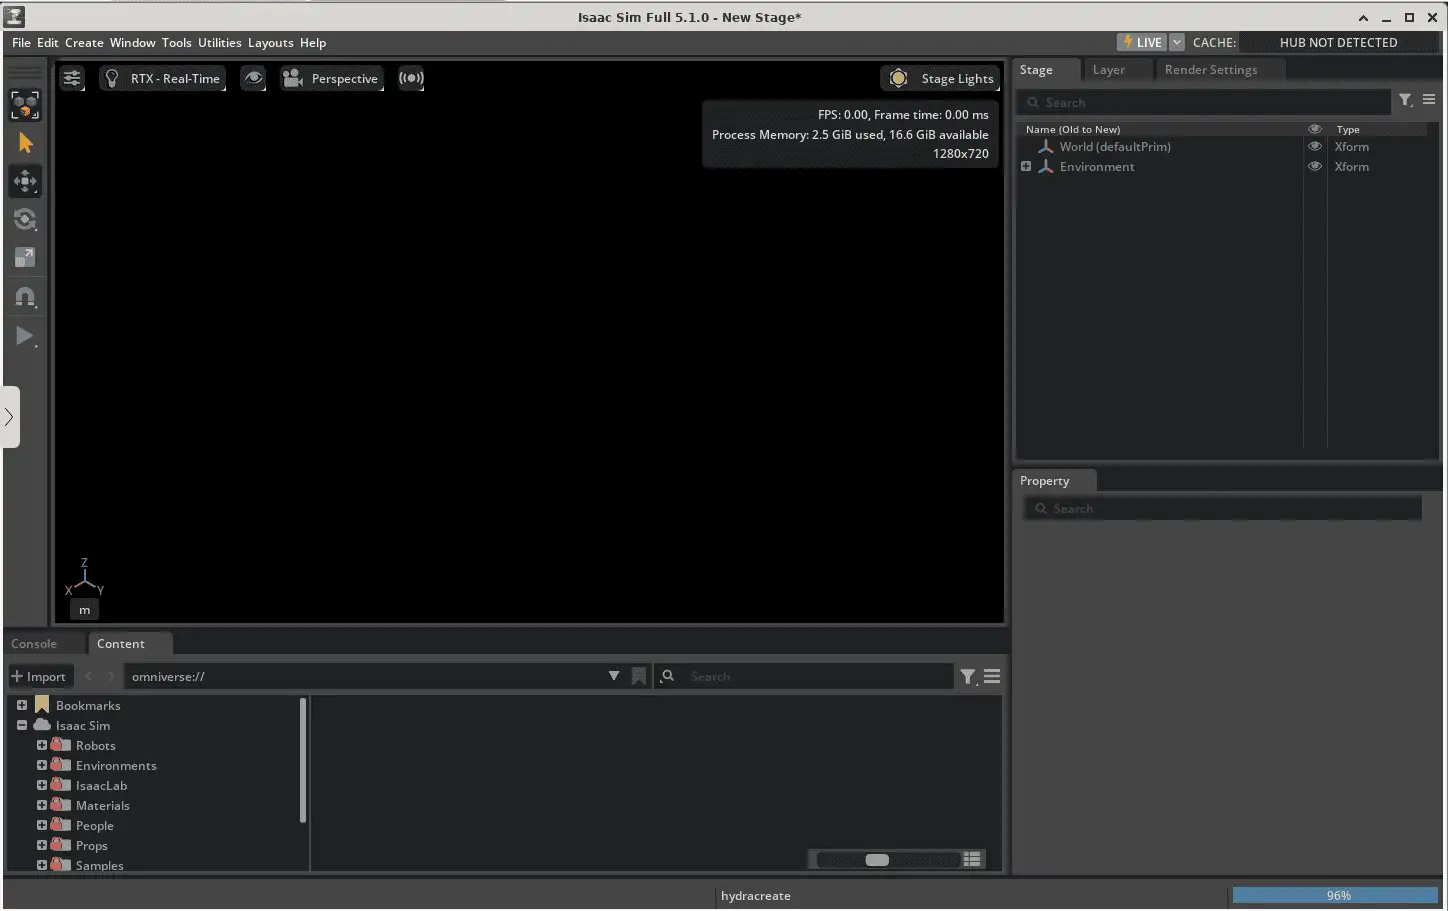
cd _build/linux-x86_64/release13. Launch the Isaac Sim application using the built binaries.
./isaac-sim.shIsaac Sim should now load the stage and be ready for use:
14. Click on Open in the Isaac interface.
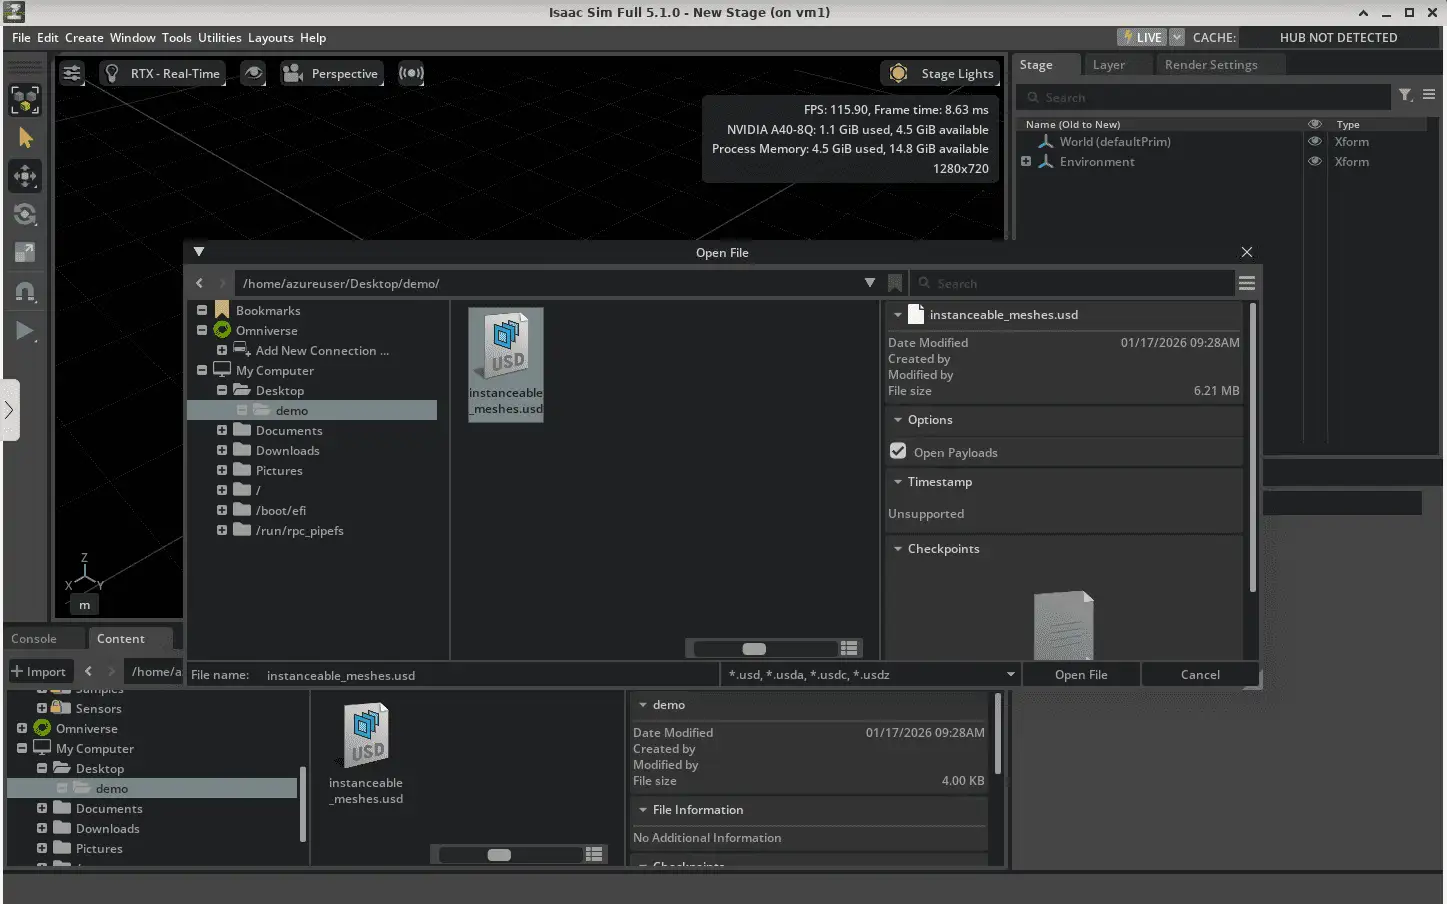
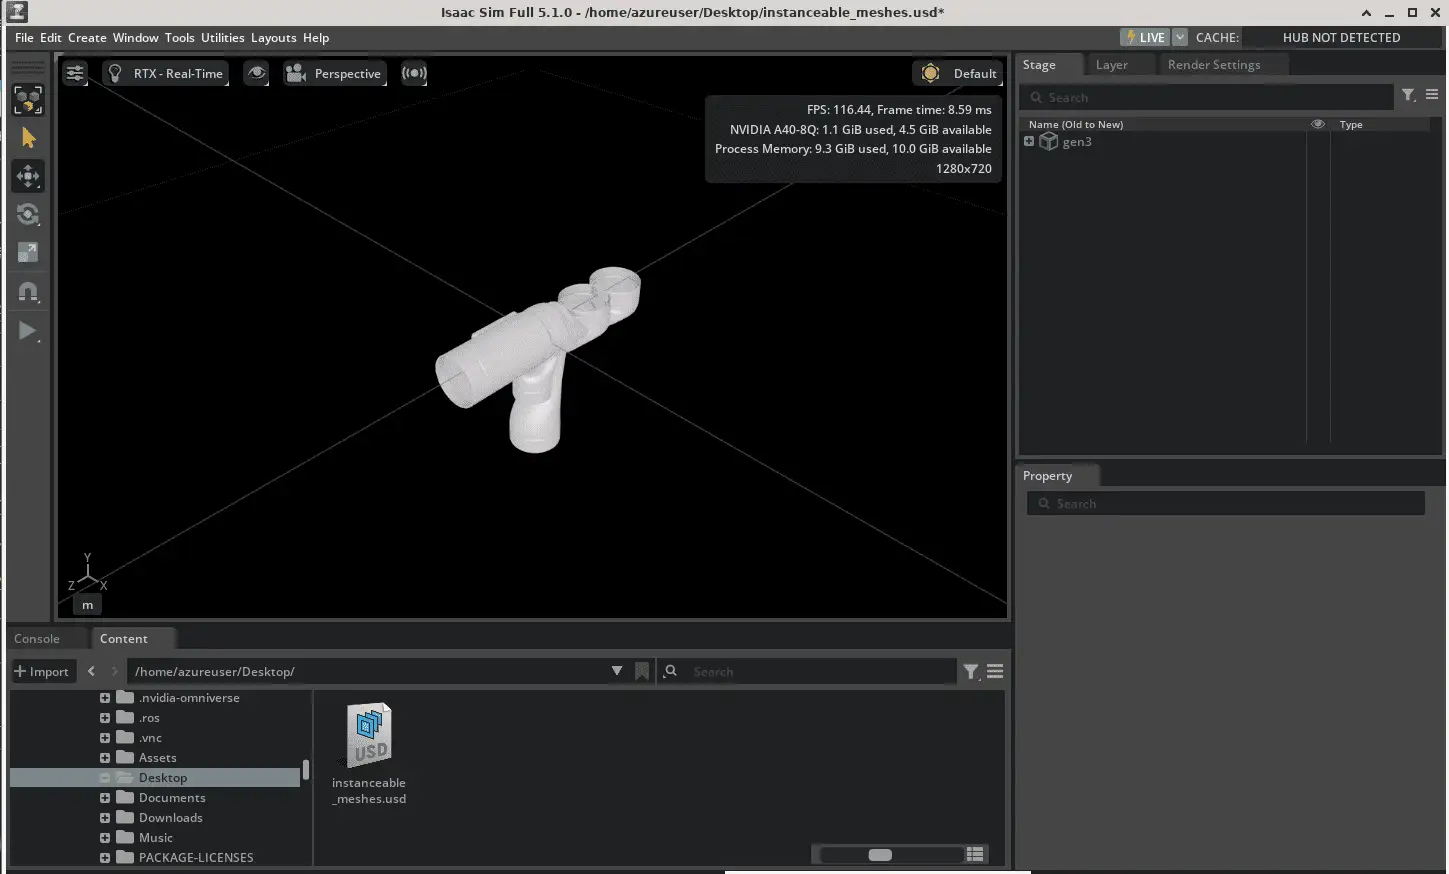
15. Go to the demo directory, click on the instanceable_meshes.usd file and click Open File. This will load your demo file in the Isaac Sim interface as shown below:
Step 12 – Install and Use the ThinLinc Client for Better Performance
While ThinLinc works directly in a browser, using the ThinLinc Client application offers a smoother experience, especially for graphics-intensive workloads or long-running sessions.
1. Download the ThinLinc Client
Visit the ThinLinc downloads page from your local machine. Choose the package that matches your system (Windows, macOS, or Linux).
2. Install the client (example for Ubuntu/Linux)
sudo apt install ./thinlinc-client_4.19.0-4005_amd64.deb3. Connect to the ThinLinc Server
Launch the ThinLinc Client.
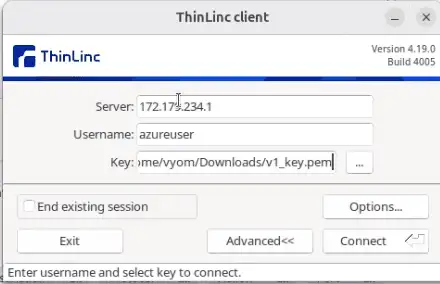
- Enter your server’s public IP address in the Server field.
- Enter the username (e.g., azureuser).
- Define the path of your saved SSH .pem key
4. Start a Session
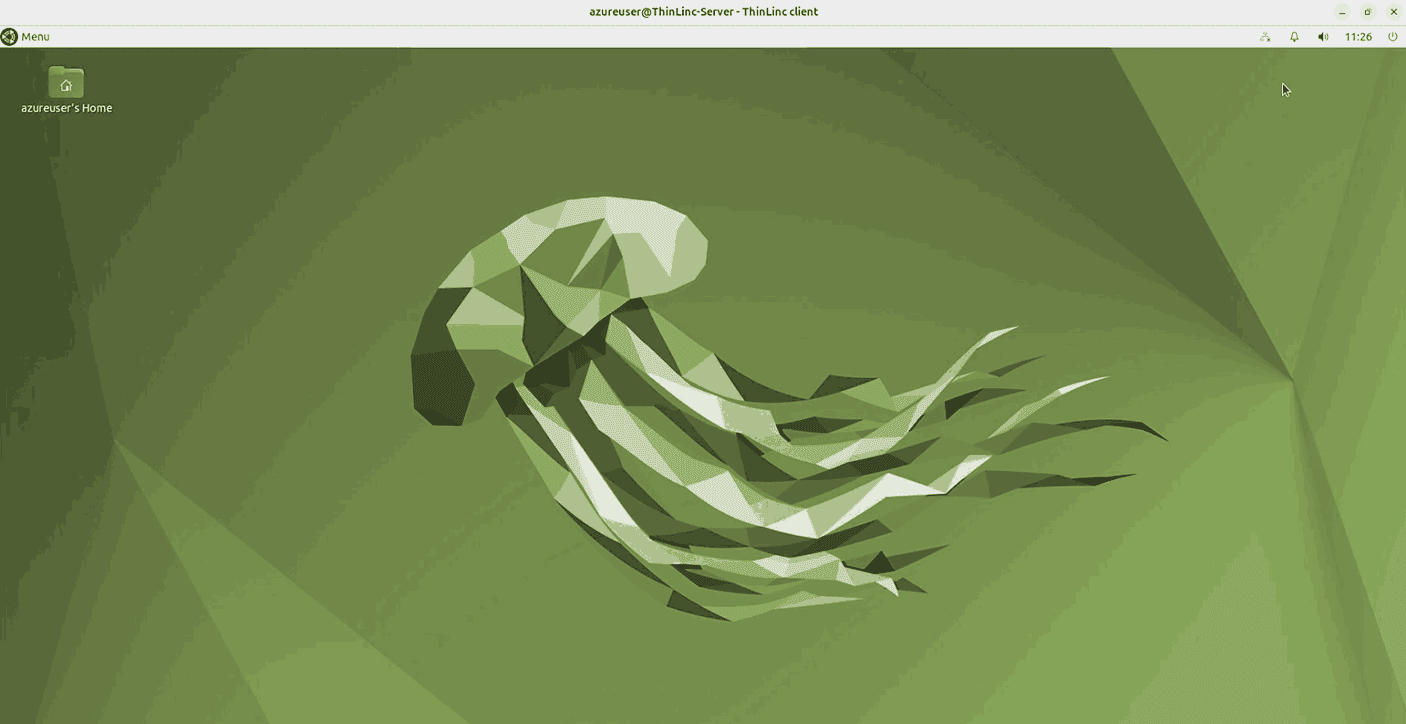
Click on Connect. Once you are connected, the ThinLinc Client will open a full Linux desktop session with improved responsiveness compared to browser access.
Conclusion
You’ve now installed and Run Isaac Sim using ThinLinc on Microsoft Azure. Starting from creating a VM in the Azure portal, you configured ThinLinc services, opened the right network ports, secured user and admin accounts, and accessed both the desktop session and the Web Administration Panel.
With this setup:
- Users can log in from anywhere using either a browser or the ThinLinc Client.
- Administrators can manage sessions, monitor services, and customize the environment through the web admin dashboard.
- The solution scales easily, add more resources or servers in Azure as your user base grows.
This combination of Azure’s flexibility and ThinLinc’s simplicity gives you a powerful, cost-effective, and secure VDI platform for remote teams, classrooms, and enterprise environments.