Minecraft is one of the most popular online games around the world. It is a sandbox multiplayer game written based on Java and developed by Mojang Studios. Minecraft allows users to play games with friends online via computer or smartphone. Minecraft mods also called modifications are changes or modifications that allow players to alter the original gameplay. Modding allows users to expand the open-ended game, incorporating new tools, blocks, mobs, and more.
Modded Minecraft is a customized version of the game that allows users to run Minecraft with their own mods. There are many Moded Minecraft server hosting providers available, but it will cost a monthly subscription to use. If you don’t want to pay for it then you can host your own Modded Minecraft server on your personal PC. If you are a beginner user then setting up your Modded Minecraft Server can be a challenging task.
In this post, we will explain how to make a Modded Minecraft server on Windows.
Managing Your Modded Server With Gravel Host
Setting up a modded server manually can be time-consuming, and managing mods and updates can be challenging, especially for those who want a quick and easy way to play with friends. That’s where Gravel Host comes into play.
What Is Gravel Minecraft Hosting?
Gravel Hosting offers a simple, hassle-free solution for running both vanilla and modded Minecraft servers. Instead of setting everything up yourself, you can use their platform to easily create and manage your modded server in just a few clicks.
Here are some advantages:
- Instant Server Setup: No need to install Java, download files, or configure anything manually.
- Mod Support: Automatically install mods and modpacks with a few clicks from their easy-to-use control panel.
- 24/7 Uptime: Your server will run on powerful cloud infrastructure, ensuring reliable performance even with a large number of mods and players.
- Customizable: Change server properties, install new mods, and manage the server all through a simple web interface.
- Backup & Security: Regular backups and robust security features keep your data safe, so you never have to worry about losing progress.
Also Read
Best Modded Minecraft Server Hosting Providers
Prerequisites
- A Windows operating system with a minimum of 4 GB of RAM.
- A Stable and fast internet connection.
- Username and password to access your router.
Step 1 – Install Java JDK
Minecraft is a Java-based application so you will need to install Java on your system. You can download Java 17 from their official website.
After downloading the Java installer, double-click on the downloaded file to start the Installation. You should see the Java welcome screen.
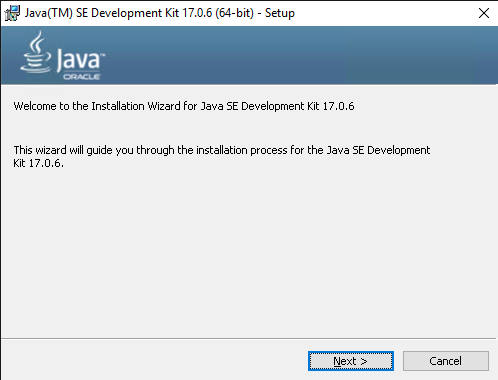
Next, complete all required steps to install Java on your system.
Step 2 – Download and install the Minecraft Forge Server
In this guide, we will use Forge to set up your own modded server for Minecraft.
1. First, visit the Forge official download page as shown below:
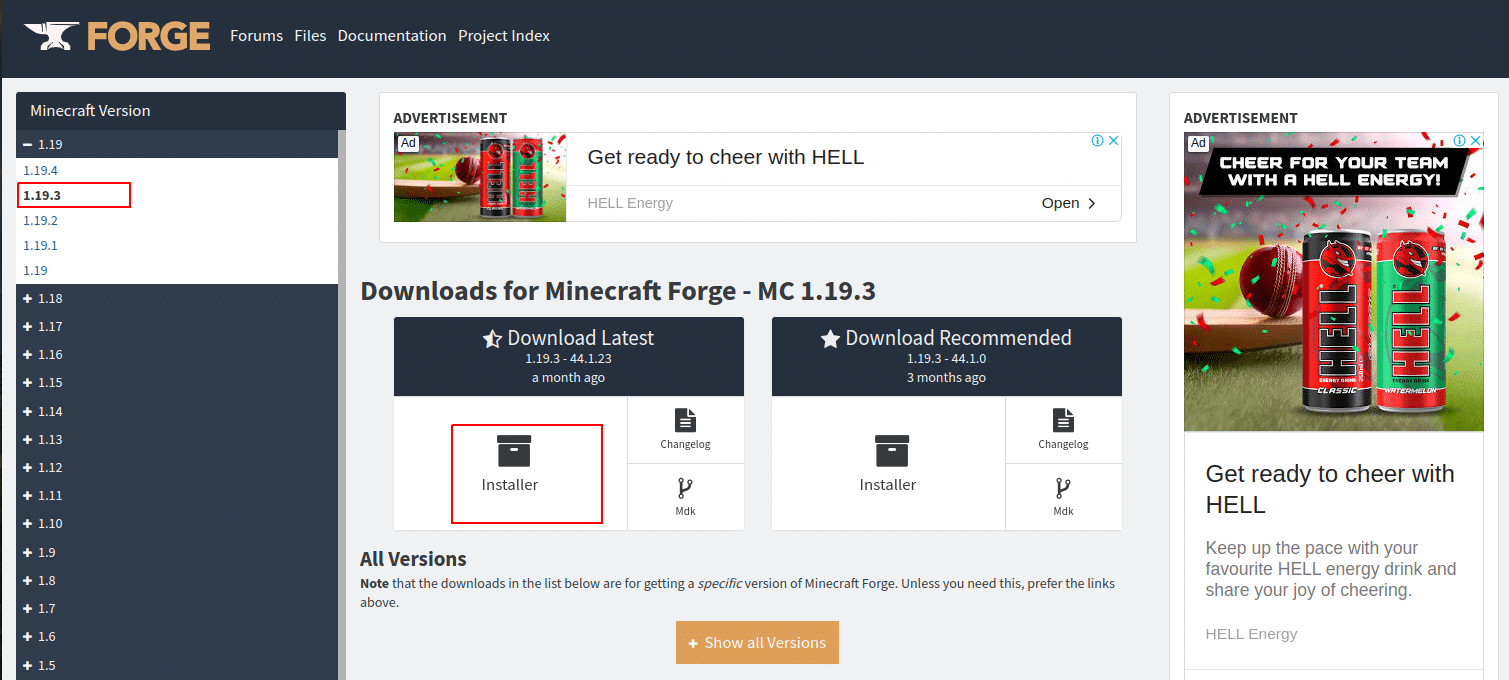
2. Select Download Latest and click on Installer. You should see the adfoc.us website page.

3. Wait for 6 seconds and click on the Skip button to download the Minecraft Forge server file to your system.
4. Next, double-click on the downloaded file to install the Minecraft Forge server. You should see the following screen.
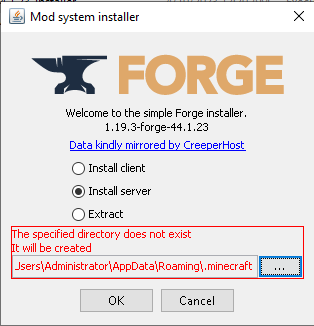
5. Select Install Server and click on the OK button. Once the installation is finished, you will get the following screen.
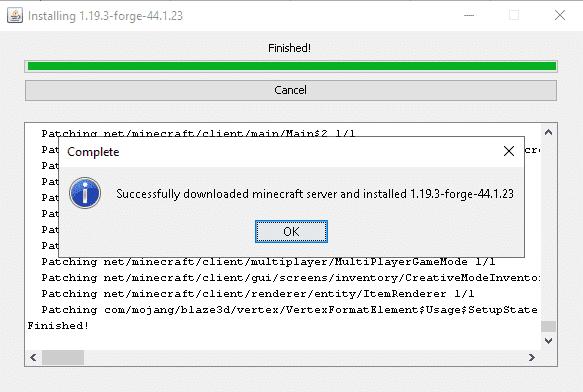
6. Click on the OK button to close the installation screen.
7. Next, go to the Minecraft default installation location C:\Users\Administrator\AppData\Roaming/.minecraft as shown below.
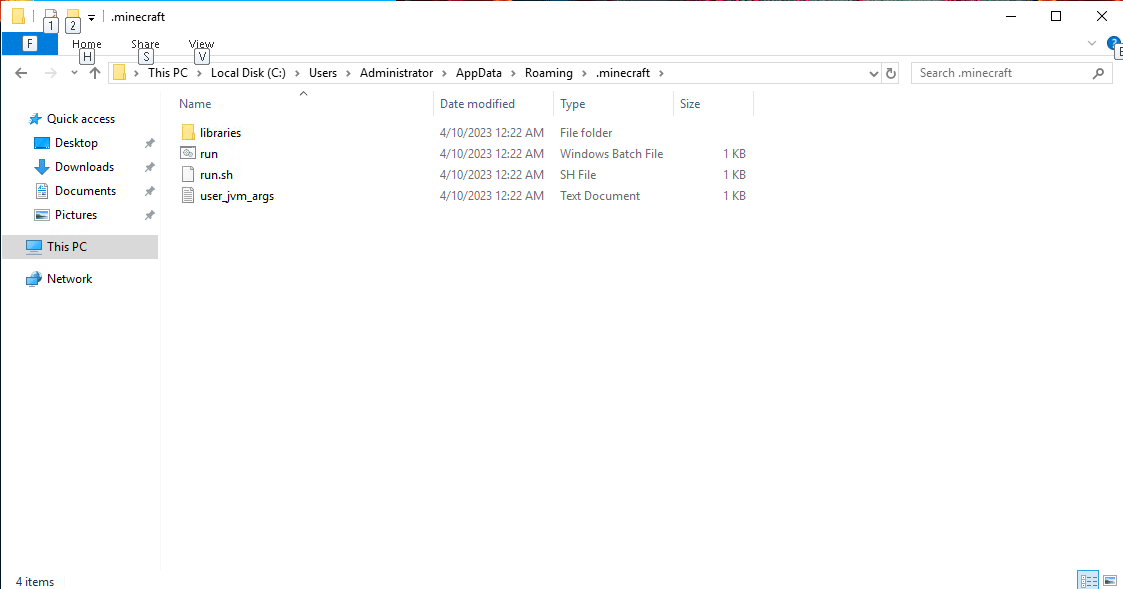
8. Now, click on the run file to start the server. You will get the Minecraft EULA error as shown below.
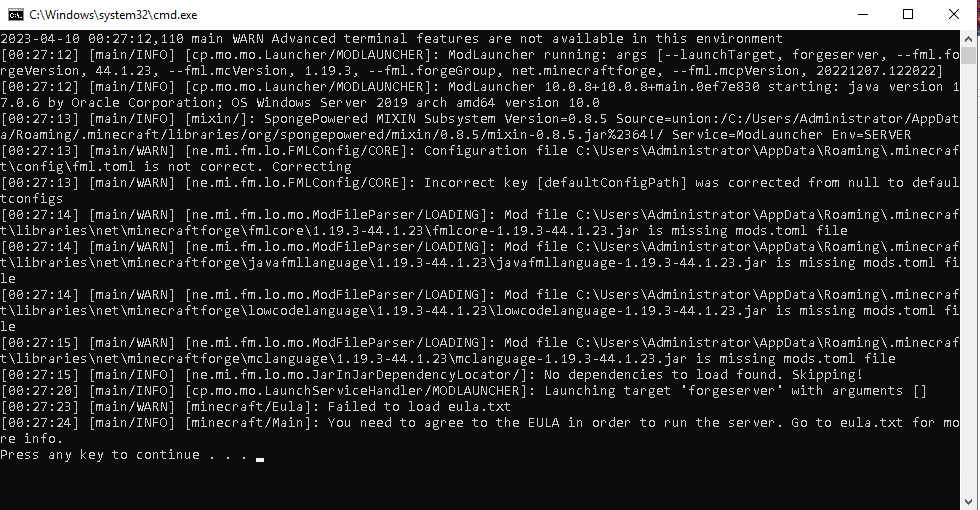
Step 3 – Accept Minecraft EULA
To run the Minecraft server, you will need to accept the EULA terms and conditions set by Mojang. To do so, go to the Minecraft server directory and open the eula.txt file in a Notepad editor.
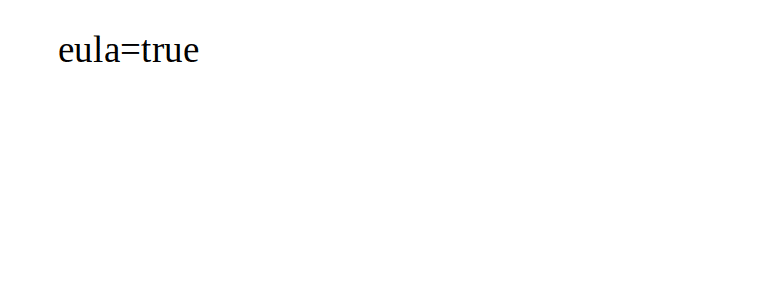
Change the line from “eula=false” to “eula=true” then save and close the file.
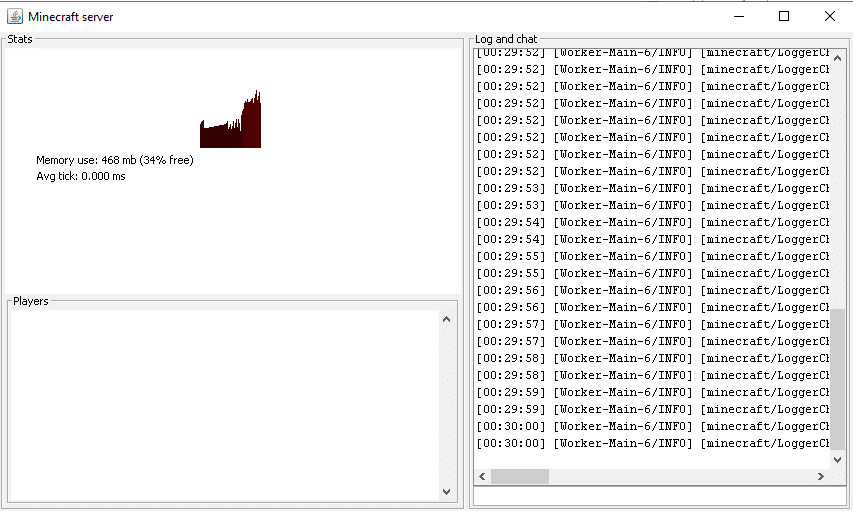
Next, double-click on the run file inside the Minecraft Server directory to start the server again. Once the server is started successfully, you should see the following screen.
Step 4 – Download and Install Mods to Minecraft
At this point, your Minecraft server is installed and running. But, Minecraft modded server is incomplete without installing mods on it. Now, you will need to install your required Mods on your Minecraft server.
First, visit the CurseForge site as shown below:
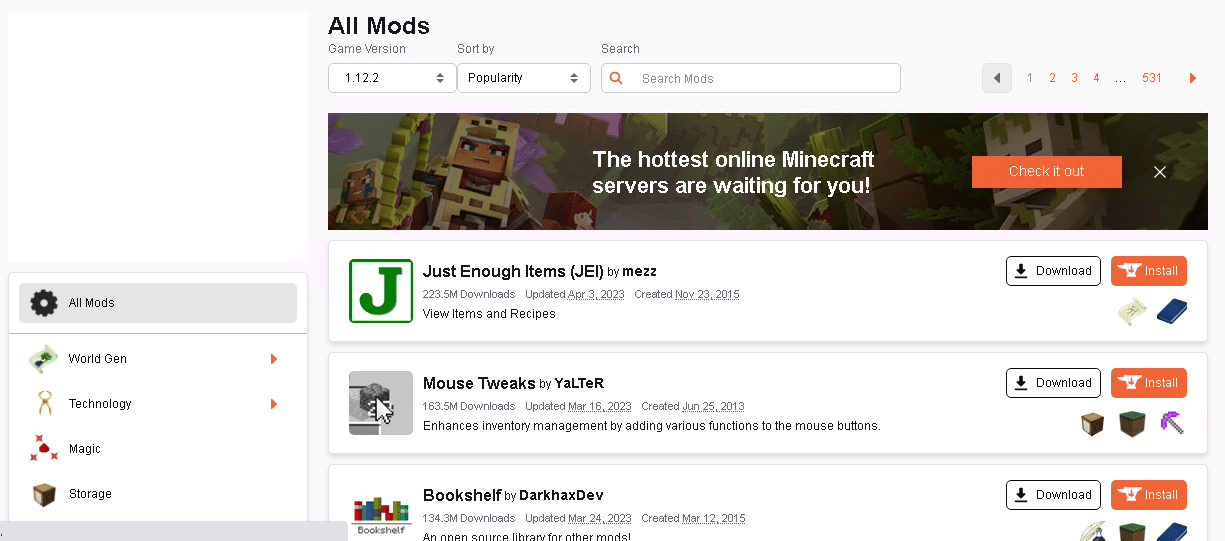
Next, select Just Enough Items mods and click on the Download button to download the mods to your system.
Next, copy and paste the downloaded mod to mods folder located at C:\Users\Administrator\AppData\Roaming/.minecraft/mods/ directory.
Step 5 – Port Forward Minecraft Server
At this point, your Minecraft server is installed with mods locally. That means anyone on the same local network can join the server. To grant connection access to those people outside the internal server network, you will need to set up port forwarding on your router.
The port forwarding process is different depending on your router and ISP. You can search on Google with your specific router to find the steps to port forward the server. Here are the common steps to port forward your Minecraft server.
- Open your web browser and type your router’s IP Address.
- Provide your router’s credentials (username and password) to log in to the control panel.
- Go to the port forwarding section of your router and click on Port Forwarding.
- Type the IP address of your Minecraft computer in your router in the correct box.
- Put the TCP and UDP ports of the Minecraft Server in the boxes in your router. The default Minecraft port number is 25565. And then click apply button.
- Once you’re done. Restart your router to implement the changes.
- You can now tell your friends to connect to the Minecraft server by providing the IP address or hostname of your computer along with the port number.
How to Setup a Modded Minecraft Server: Final Thoughts
In this step-by-step guide, we explained how to make your own Modded server for Minecraft. Sometimes you will get errors during the setup process. You can follow the below tips to resolve the technical issues.
- Ensure that your system has enough RAM installed.
- Ensure that the latest version of Java is installed.
- Ensure that the Windows firewall is configured properly and disable the antivirus software.

