Learning how to make a Terraria server for friends gives you full control over your multiplayer experience. You can customize game settings, explore massive worlds, build epic bases, and battle bosses together, all on a lag-free, dedicated server.
By setting up your own Terraria server, you eliminate common multiplayer issues like host disconnections, lag, and connectivity problems. In fact, this is the simplest way to gain the flexibility to install mods, tweak game rules, and manage player permissions with ease.
This guide will walk you through the steps to make your own server for Terraria, whether you want to host it manually on Linux or Windows or use reliable hosting providers like Apex Hosting or Kamatera.
Table of Contents
Why Host Your Own Terraria Server?
Hosting a dedicated Terraria server gives you:
- ✓Full control over game settings and mods.
- ✓Enhanced performance compared to peer-to-peer hosting.
- ✓Stable uptime when hosted on a dedicated machine.
- ✓Better security and privacy options.
- ✓Scalability for larger multiplayer experiences.
If you don’t want to host it on your personal machine, using a dedicated game server from Apex Hosting or cloud-based infrastructure from Kamatera ensures the best performance.
What is the System Requirements for a Terraria Server?
Before setting up a Terraria server, check if your machine meets the minimum and recommended system requirements.
Minimum Requirements
- ✓CPU: 2 GHz or higher.
- ✓RAM: 1 GB (for small servers with 4-6 players).
- ✓Storage: 500 MB available disk space.
- ✓Network: Stable internet connection (at least 5 Mbps upload speed).
- ✓Operating System: Windows 7/10/11, Ubuntu 20.04+, or Debian 11+.
Recommended Requirements for Large Servers (10+ players)
- ✓CPU: Quad-core 3 GHz or higher.
- ✓RAM: 4 GB or more.
- ✓Storage: 5 GB+ for small game world storage, backups, and logs.
- ✓Network: 10 Mbps upload speed for smooth gameplay.
For scalability and stability, hosting on a VPS or cloud provider like Kamatera is ideal.
Option 1: Hosting a Terraria Server with Apex Hosting or Kamatera
If you prefer an easy setup with high performance, Apex Hosting, and Kamatera offer excellent Terraria server hosting solutions.
Apex Hosting – Reliable Game Hosting
- ✓Pre-configured Terraria servers are ready in minutes.
- ✓Affordable pricing with flexible plans.
- ✓DDoS protection and automatic backups.
- ✓24/7 support to help with any issues.
- ✓Low-latency data centers worldwide.
Check out Apex Hosting Terraria Server Hosting
Kamatera – Cloud Hosting for Terraria
- ✓Customizable VPS for high-performance Terraria hosting.
- ✓Hourly or monthly billing so you only pay for what you use.
- ✓SSD-powered cloud servers for fast load times with enhanced server hardware.
- ✓Scalability to upgrade RAM and CPU as needed.
- ✓Root access for full control over server configuration.
Try Kamatera with a 30-day free trial
Option 2: Manually Hosting a Terraria Dedicated Server
If you prefer manual setup, follow these steps for Windows and Linux.
How to Make a Terraria Server on Windows?
Follow the steps below to make your own Terraria server on Windows.
- Download Terraria Server files from the official Terraria website.
- Extract the contents to a dedicated folder (e.g., C:\TerrariaServer).
- Open the extracted folder and run TerrariaServer.exe using the command line.
- Select the world you want to load or create a new one.
- Set server options such as max players and difficulty.
- Note the server IP address for players to connect.
- Open Windows Defender Firewall and allow TerrariaServer.exe.
- Forward port 7777 on your router to your local PC IP.
- Launch Terraria on your client machine, then Select Multiplayer > Join via IP.
- Enter your server IP and click Join.
How to Make a Terraria Server on Linux (Ubuntu/Debian)
Setting up a dedicated Terraria server on a Linux machine allows you to enjoy multiplayer gameplay with friends while ensuring a smooth and stable experience, including a mobile dedicated server option. Follow the steps below to make a Terraria server on Ubuntu.
Step 1: Sign Up for Kamatera
Sign up for Kamatera, then configure and deploy a new server
Step 2: Install Required Dependencies
Before installing Terraria, ensure that Mono is installed, as Terraria’s server requires it.
 # apt update -y
 # apt install mono-complete unzip wget unzip -y
Step 3: Download and Extract Terraria Server Files
Visit the Terraria server download page and download the latest Terraria version using the wget.
# wget https://terraria.org/api/download/pc-dedicated-server/terraria-server-1449.zipOnce downloaded, extract the files:
# unzip terraria-server-1449.zipMove into the extracted directory:
# cd 1449/Linux/Step 4: Run the Terraria Server
To start the Terraria Server, execute the following command:
# ./TerrariaServer.bin.x86_64If you encounter permission issues, set executable permissions:
# chmod +x TerrariaServer.bin.x86_64Now, run the server again:
# ./TerrariaServer.bin.x86_64You should see output similar to this:
Error Logging Enabled.
Terraria Server v1.4.4.9
Step 5: Create a New Terraria World
When prompted, select New World by entering n:
Choose World:nChoose the world size:
1 Small
2 Medium
3 Large
Choose size: 1
Select difficulty:
1 Classic
2 Expert
3 Master
4 Journey
Choose difficulty: 1
Choose world evil type:
1 Random
2 Corrupt
3 Crimson
Choose world evil: 1
Enter a world name:
Enter world name: myworldLeave the seed blank for a random world:
Enter Seed (Leave Blank For Random):The server will then generate the world.
Step 6: Configure Server Settings
Once world generation is complete, choose your world:
1 myworld
n New World
d  Delete World
Choose World: 1
Set the maximum number of players:
Max players (press enter for 16):Set the server port (default 7777):
Server port (press enter for 7777):Enable automatic port forwarding (optional):
Automatically forward port? (y/n): ySet a server password (leave blank for none):
Server password (press enter for none):The server will now start and listen on port 7777:
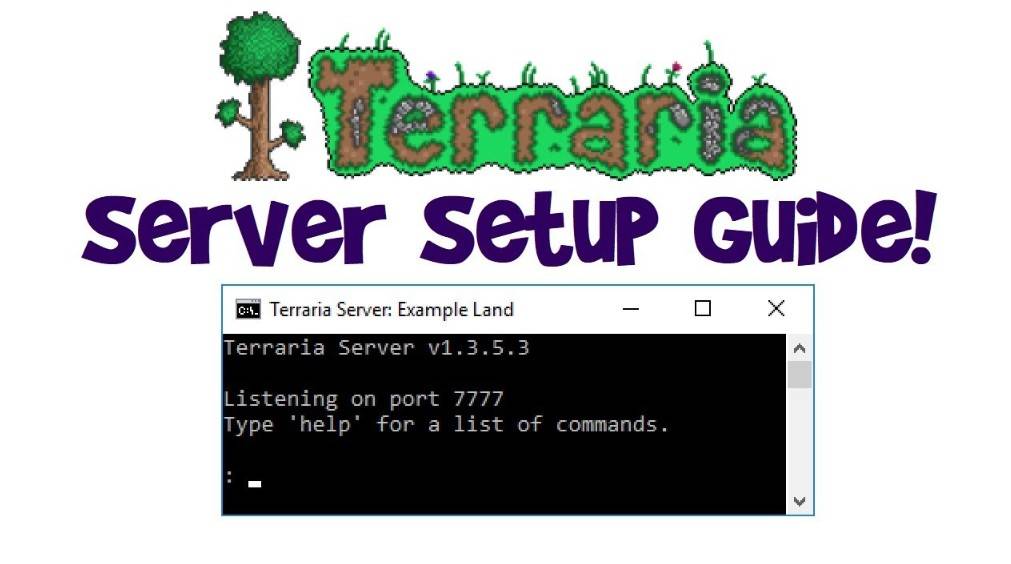
Listening on port 7777
Type 'help' for a list of commands.
Server started
Step 7: Open Firewall Ports (If Needed)
If you’re using UFW (Ubuntu/Debian), allow port 7777:
 # ufw allow 7777/tcp
 # ufw enable
 $ ufw reload
Step 8: Connect to the Server
- Launch Terraria on your client machine and:
- Select Multiplayer > Join via IP
- Enter the server’s IP address
- Enter the server password (if set)
- Click Join
Final Thoughts: Which Hosting Option Should You Choose?
- For casual gaming with friends, hosting on your own PC is fine.
- Use Apex Hosting or Kamatera for a reliable experience for professional or lag-free gameplay.
A dedicated server ensures smooth performance, mod support, and always-on availability, making it the best choice for long-term Terraria multiplayer gaming.
🚀 Get started today with Apex Hosting or Kamatera and build your Terraria world without limits!
FAQs: How to Host a Terraria Server for Free
1. How to make a terraria server mobile?
2. How do I manage player permissions on my Terraria server?
You can manage player permissions by editing the server’s configuration files or using plugins that provide more granular control over what each player can and cannot do.
3. What kind of maintenance does a Terraria server require?
Regular maintenance for a Terraria server includes updating the game and server software, backing up world files, monitoring server performance, and adjusting resources as needed.
4. How to make a modded Terraria server?
Yes, you can run mods on your Terraria server by installing a modded server client like TShock or Terraria Overhaul, which allows for expanded gameplay and server management features.